Monday, May 14, 2012

Chocolate Compost Clusters

The name doesn't sound too appetizing, does it?  I'm not sure why these are called compost clusters, but I don't really want to think about it too hard, if you know what I mean.  Anyways, I made these a few days ago as a way to use up the handful of candy canes we still had left from Christmas.  The sweet/salty, soft/crunchy combination of pretzel bits, mini marshmallows, peppermint candy, almond pieces, and dark chocolate was really good, and I enjoyed them more than I expected I would.  The clusters were really simple to make, and everyone but my dad liked them.  Daddy does not like anything minty (except for Thin Mints Girl Scout cookies--go figure!), so I do not take his negative response personally.


Chocolate Compost Clusters
Adapted from One Bite More: http://www.onebitemore.com/2011/12/chocolate-compost-clusters/

Ingredients:
350 g dark chocolate chips
1 cup pretzels, broken into bite-sized pieces
1 cup mini marshmallows
3/4 cup almonds, roughly chopped
5 or 6 candy canes, crushed

Instructions:
Melt the dark chocolate in the microwave in 15- to 30-second intervals, stirring until smooth.  Combine all the remaining ingredients in a large bowl.  Pour the melted chocolate over the other ingredients and stir to coat everything in chocolate.  Spoon the mixture by teaspoonfuls onto waxed paper.  Let the clusters set overnight, and store them in an airtight container between layers of wax paper.

*Note: I attempted to pulverize a candy cane in our coffee grinder to sprinkle over the tops of the clusters before they set (as the original recipe suggests), but my candy cane was a bit stale, so all I succeeded in making was sticky pink peppermint powder/foam.  While this was delicious, it was impossible to sprinkle on the clusters.  Luckily, Daddy came to the rescue!  He tried pulverizing a couple of those soft, melt-in-your-mouth type peppermint balls, and this worked much better.  I liberally sprinkled all of the clusters with the peppermint dust, and I think it made them extra pretty.

Wednesday, May 9, 2012

Meatballs and Tomato Sauce

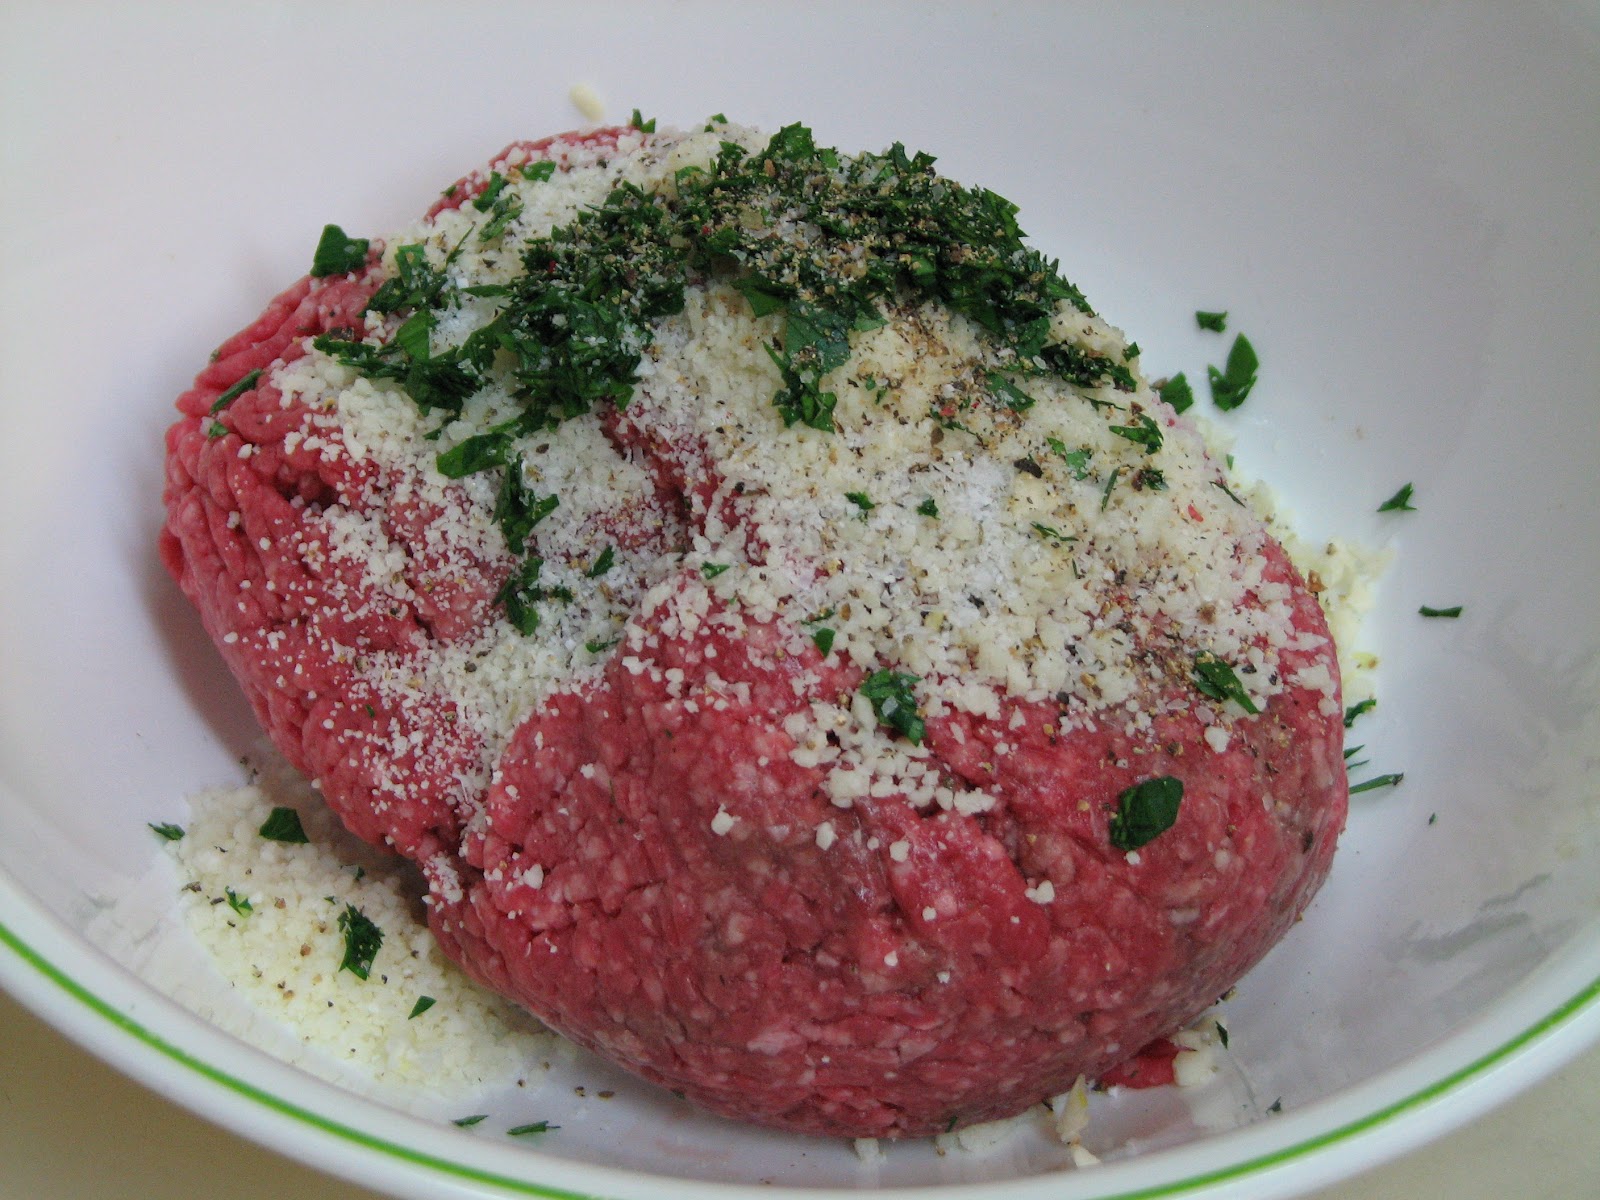
Today I made dinner for my family: spaghetti and meatballs.  I've made a lot of pasta recipes before, but never for a simple tomato sauce and never with meatballs.  When I decided to make tomato sauce and meatballs, my mom pulled out a couple of cookbooks for me to look through from the Italian Club my grandparents attend.  I found a simple-looking tomato sauce recipe in one cookbook and a meatball recipe in the other cookbook.  First I mixed the ingredients for the meatballs, and then I assembled the ingredients for the sauce.  I browned the meatballs in olive oil and removed them from the pot before adding the onions and garlic to sauté.  At my mother's suggestion, I sopped up some of the extra grease with a paper towel and deglazed the pan with the amount of red wine called for in the sauce recipe.  Then I added all the other sauce ingredients, mashed up the whole canned tomatoes with a potato masher, and brought the sauce to a bubble before adding the meatballs back in.  After letting the meatballs simmer for 30 minutes, I turned off the stove, put the lid on the pot, and left to attend a group fitness class at the gym with my family.  When we returned home, I put a pot of water on to boil for the pasta and rewarmed the meatballs and sauce over low heat.  Since I had left the lid off the pot while it was simmering for half an hour, the sauce had gotten really thick.  Luckily, I had saved the tomato juice from the cans of whole peeled plum tomatoes, so I just poured some of it into the pot as the sauce rewarmed.  After I boiled and drained the pasta, I transferred the meatballs to a platter and mixed the pasta into the sauce.  To serve, we piled spaghetti and sauce on our plates, perched our meatballs on top, and generously showered everything with Pecorino Romano cheese.


FLAVOR:  Absolutely delicious!  I loved the sauce.  When I was little, I despised tomato sauce, but I have since grown to enjoy it more, and this sauce was one of the best I have tasted (besides my Nanna's, of course!).  It was not spicy or overly herb-y, just warm and mellow.  The meatballs were great, too.  Nothing fancy--just classic, well-seasoned, savory meatballs.


TEXTURE/APPEARANCE:  The meatballs were tender and moist, and looked nice nestled in a pile of tomato-coated pasta, especially because of their beautifully browned exteriors.


WOULD I MAKE THIS RECIPE AGAIN?  Most definitely!  Everyone loved both the sauce and the meatballs.  I got more than one request for me to make it again, and to double the recipe.  We had no leftovers at all--a sure sign of a good meal.


OTHER COMMENTS/NOTES:  I used spaghetti rigate, which is spaghetti with ridges, because it holds more sauce than regular spaghetti.  Two large cans of whole peeled plum tomatoes, drained, yielded about the three cups of tomatoes called for in the recipe.  If (or more likely, when) I make this again, I will be sure to double the recipes.


FAMILY MEMBER REVIEWS:
Gabriel:   "Five stars!"
Anne Marie:  "The sauce was very good.  I wished there were more meatballs!" *laughter*
Elizabeth:  I felt like it was a very comforting, staple-type dish.  There weren't any crazy, stand-out flavors; everything blended well.  The meatballs were tender.
Mommy:  I liked that the meatballs were browned and then the sauce was cooked in the same pot, so you got all the yummy caramelized bits.
Daddy:  The sauce was tasty and balanced.  The meatballs were tender and flavorful.


Polpettine (Meatballs)
adapted from Preserving Our Italian Heritage 


1 1/2 lbs. ground beef
1 egg
1/4 cup Romano cheese
salt/pepper
1 tbsp. parsley, chopped
1 garlic clove, minced
1 slice of bread, toasted and softened in milk


Mix all ingredients thoroughly.  Shape into small balls about 2" in diameter and brown in olive oil.  Drop into simmering tomato sauce.  Cook slowly 20-25 minutes, stir carefully.


 Marinara Sauce
adapted from Our Italian Heritage Continues into the 21st Century


1/2 cup chopped onion
3 garlic cloves, minced
1/4 cup olive oil [I used the drippings left from browning the meatballs in olive oil]
1/4 cup red wine
3 cups canned Italian tomatoes, drained [I used two large cans of whole peeled plum tomatoes; I think they were 28 oz. each]
1 tsp. dried oregano
5 fresh basil leaves, chopped
1 tsp. salt
black pepper, freshly ground


Sauté onion and garlic in olive oil (or meatball drippings) for 5 minutes.  Drain off excess grease if desired.  Deglaze the pan with red wine, scraping up the browned bits.  Add remaining ingredients and break up the tomatoes (I used a potato masher and it worked beautifully).  Bring to a boil, reduce heat, drop in the meatballs, and simmer for 30 minutes, stirring occasionally.

Southern Biscuits


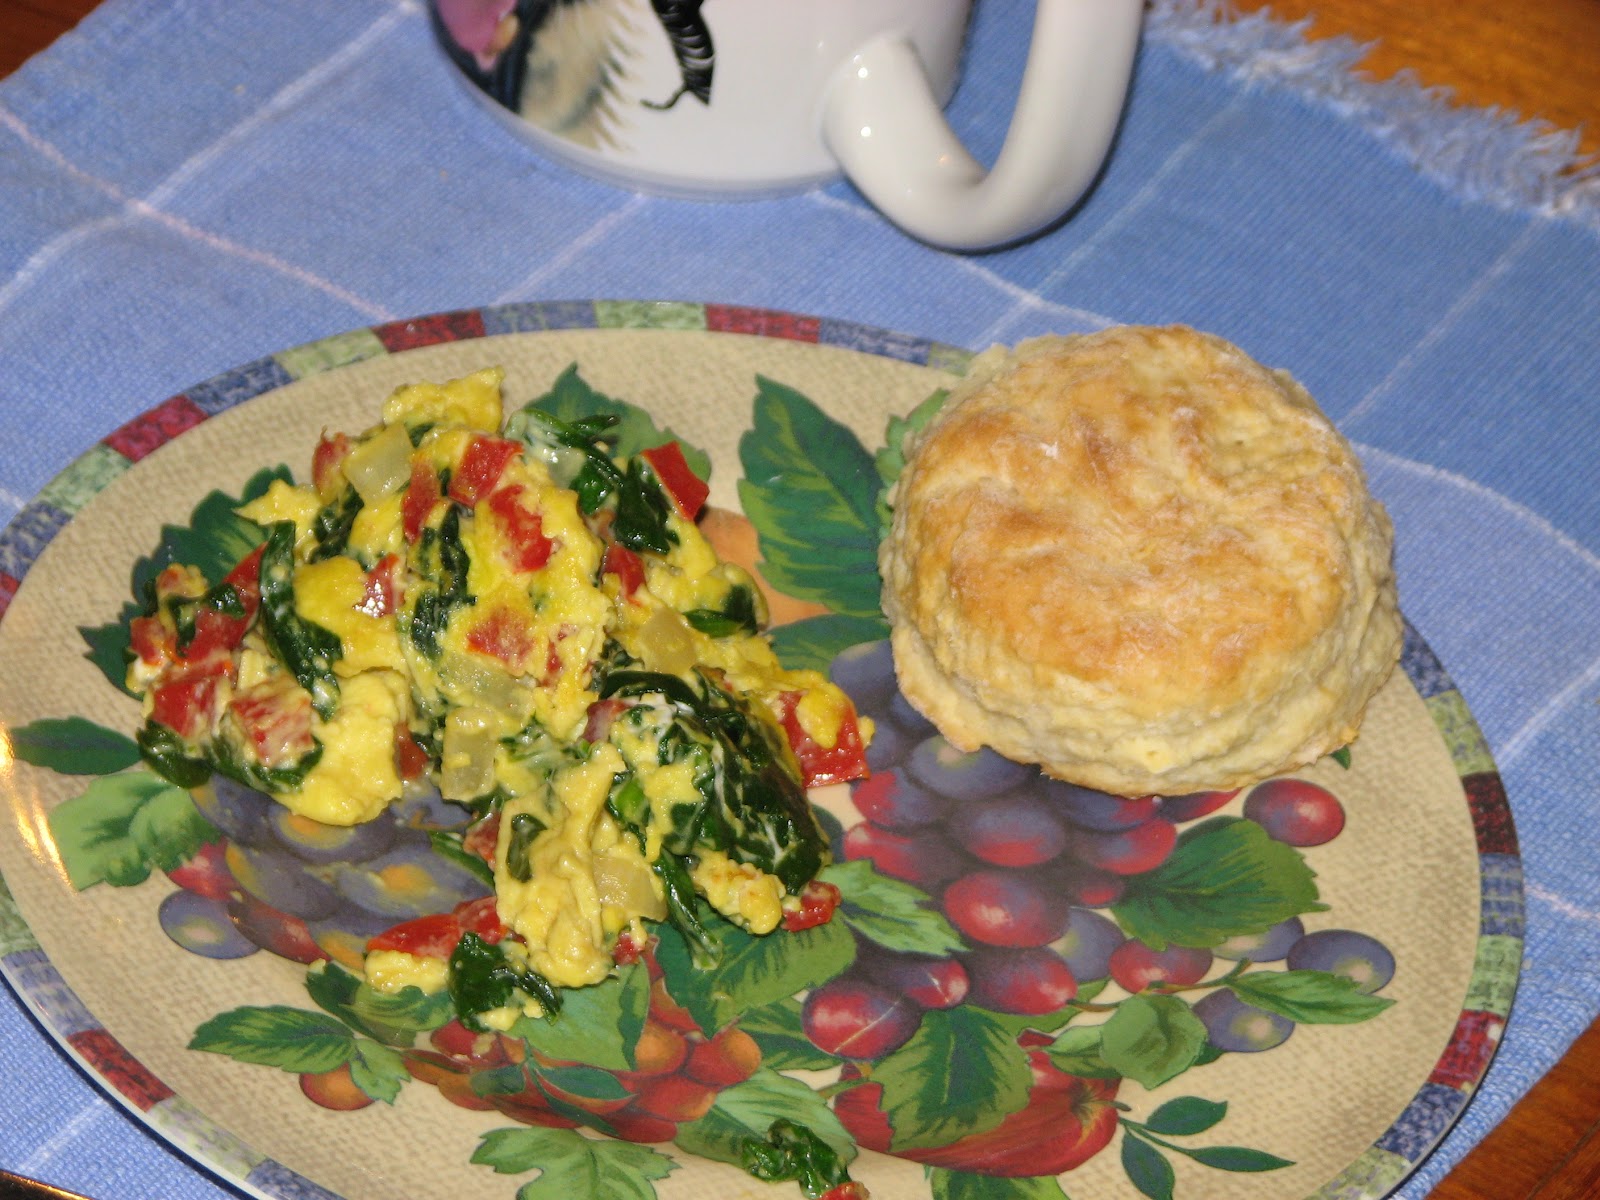
My first official culinary adventure of the summer was biscuits.  The afternoon before I made them, I measured the dry ingredients into a bowl with a lid, in order to speed up the process the following morning.  I used Alton Brown’s recipe for southern biscuits.  It called for a cup of buttermilk, but we didn’t have any on hand, so I put a tablespoon of distilled white vinegar in the measuring cup and filled it to the 1-cup mark with whole milk.  This substitution seemed to work out fine in the recipe.  Also, I didn’t have a 2-inch biscuit cutter; the smallest one Mommy could find for me was 2 ½ inches in diameter.  As a result, my batch of biscuits only yielded nine biscuits, whereas the recipe’s yield was a dozen.  I baked the biscuits for 15 minutes and checked them, then baked them for 3 minutes more.  I think if I had taken them out of the oven after 15 minutes they would have been baked, but the extra three minutes allowed the biscuits to become golden brown on top.  If I made this recipe again, I would like to try using buttermilk to see if it makes any difference in flavor or texture.  I think I would bake the biscuits for slightly less time in the future.


FLAVOR:  The biscuits were good.  I don’t think I would call them fantastic, but I really enjoyed having fresh, warm biscuits for breakfast.  I think they would have been even better if we had gotten to eat them straight from the oven, but with six people in the family, it is pretty near impossible for everyone to be sitting at the table when the food is hot.  Also, my recipe testers commented on blandness; this could have something to do with the fact that I used unsalted butter.  Next time, I’ll used salted butter, and maybe brush the tops with melted butter.

TEXTURE/APPEARANCE:  The biscuits seemed a bit dry compared to what I am used to (premade, frozen, store-bought biscuits), but this may be a result of my inexperience with biscuit-making.  It is possible that I overworked or over-floured the dough, or maybe I baked them too long.  Or it is possible that real biscuits are dry.  The tops of the biscuits got nice and golden brown, but they could have risen higher.

WOULD I MAKE THIS RECIPE AGAIN?  Yes, I would make this recipe again, but I would also like to experiment with other biscuit recipes.  The biscuits were much simpler to make than I expected.  If I make these biscuits again, I will try using really cold ingredients and I’ll be sure that I don’t overwork the dough.  Next time I will try making some kind of gravy to go over them.  Maybe sausage gravy or chocolate gravy would be good.

OTHER COMMENTS/NOTES:  I think I should buy a 2-inch biscuit cutter.  I toasted a leftover biscuit and topped it with butter and honey today for breakfast, and it was delicious.

FAMILY MEMBER REVIEWS: (These are not exact quotes, just my paraphrasing of my family's comments.)
Little Brother:  Good texture, but they were bland.
Little Sister:  They were good.  They were best with honey and butter.
Big Sister:  They had a nice texture, they didn’t taste canned, and they were a little dry; jam would be nice.
Mommy:  Good, but bland; but I enjoyed them and would eat them again.
Daddy:  Daddy doesn’t like biscuits, so he didn’t eat any and therefore has no opinion of them.

Welcome

Hello and welcome to Juniper's Table!  I'm Juniper, and I love cooking, baking, and trying new recipes.  I've started this blog as a way to document my culinary adventures this summer.  My hope is that by the beginning of the school year, I will have conquered some of my fears in the kitchen (including meringue and yeast breads), and will have learned some basic, valuable cooking skills.  At the end of the summer, if I find that I'm really enjoying blogging, I might continue to blog about my experiences in the kitchen and around the table.